

I don't feel like mine is as amazing as hers, but overall I'm pretty happy with how it came out!
Here are the step-by-step instructions...

You'll need:
A cardboard cake round (mine is 14") or other cardboard base
A dowel rod
Ribbon - I used three different kinds, 1 wired and the other two not
Safety Pins - optional
Decorative push pins - I used the ones with pearls
2 bath towels
3 hand towels
4 wash cloths (I used 2 wash cloths and a hand towel)
___________________________________________________
Start by laying your bath towels out and folding them into thirds. The width has to be the same.

I put safety pins on these towels, but it's optional. I only used them on the bath towels.

Next, roll your bath towels, making sure you have a good amount of space in the middle so you can get it on the dowel. I just used my finger and didn't wrap it too tightly.
You will have wrinkles that come up as you roll... just tuck those into the roll as you go. I promise, it doesn't have to be perfect, even though you'll feel like it does! The most important thing to be sure about is that you are keeping your rolls level.
When you are done rolling, you will have a right side and a wrong side. The wrong side is the one with the edge of the towel showing... that's the side you want down.
 |
| Wrong side... |
 |
| Right Side! |
Once you are done rolling, you'll want to pin the towel. In my opinion, it's always better to put too many pins in to start. You can always take them out as you go... it's better to be sure the towel is not going to come unrolled as you are working with it. Here's how I placed mine.


Once it's pinned, place put the dowel in. I did not attach the dowel to the base.

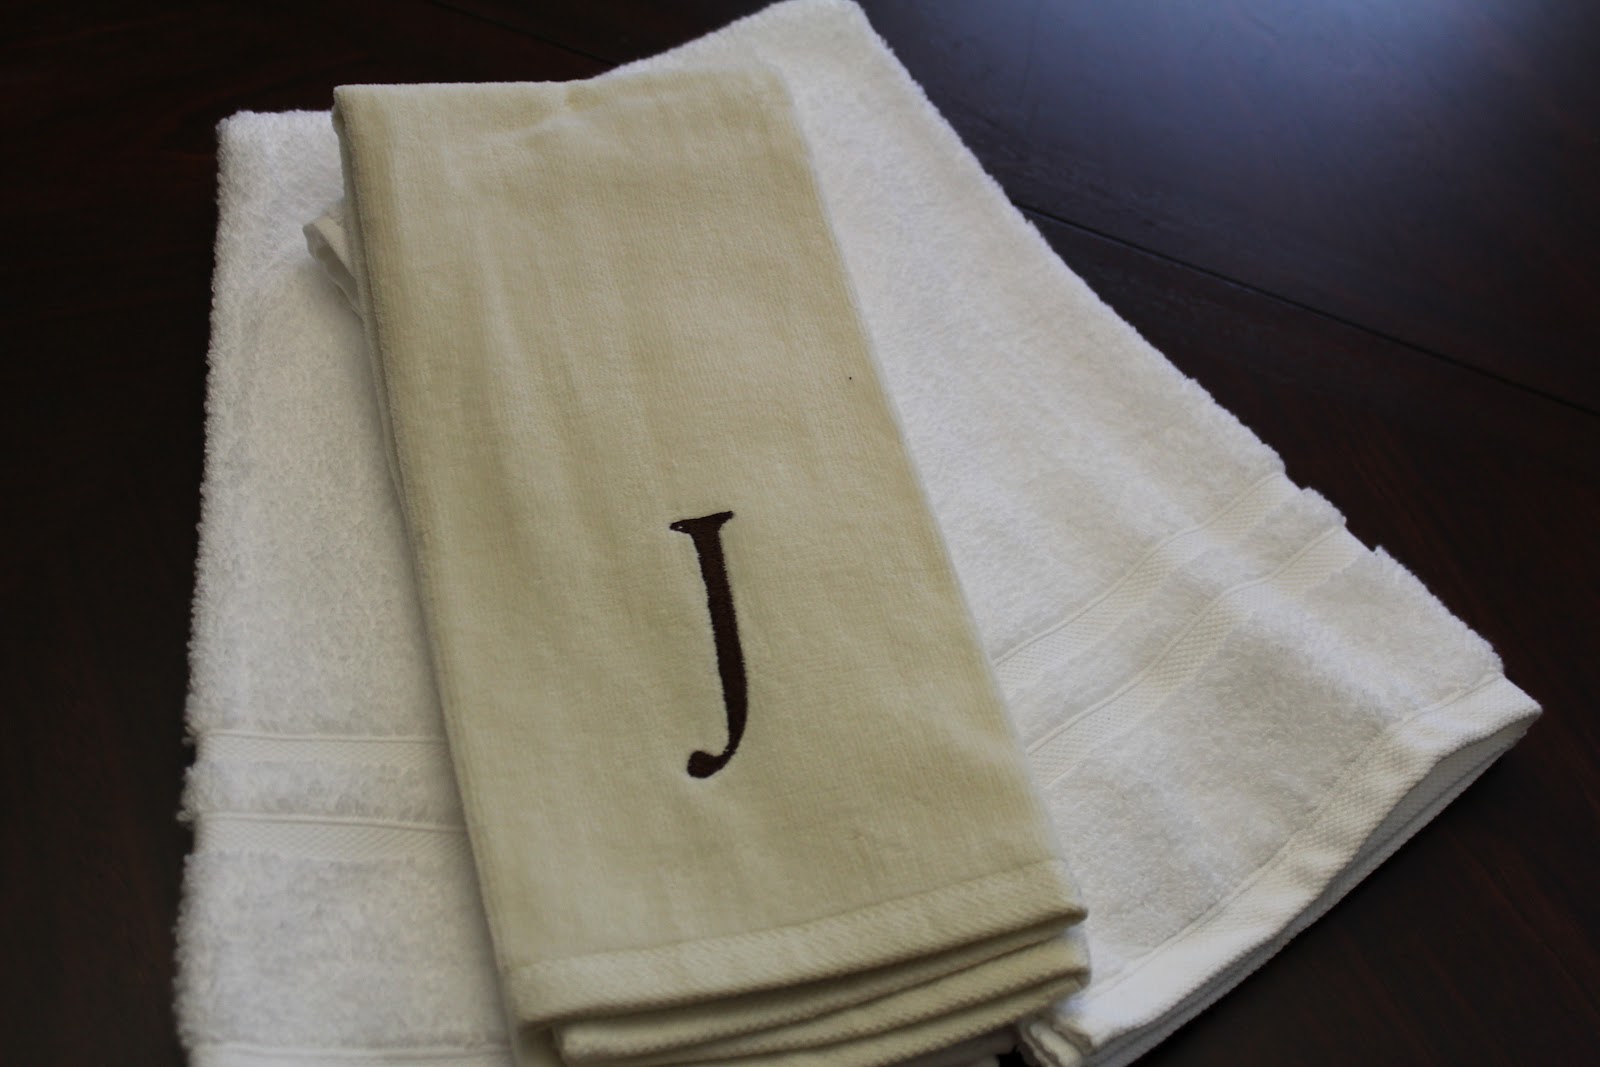
My second layer was three hand towels. As you can see, one of them is different... that is because that's what my cousin registered for! I just put the one with the J on the inside of the roll where no one will see it.
I folded these into thirds as well. Folding them in half made them taller than the bottom layer, which just didn't look right.
I did the same rolling with these, without using the safety pins. I also pinned them the same way with the straight pins.
When I got to my last layer, I got too focused and forgot to take a picture of the before. I used the other "J" towel and two wash cloths... the wash cloths were folded in half and the J towel was folded to match. I put the J towel on the inside again. Same rolling, same pinning... this one was a little harder to pin because I really had to stretch the last wash cloth to get it all the way around the top layer.
You'll obviously have to put the second and top layer on the dowel from the top. It's easiest to use your fingers to ensure you have a clear path for the dowel before you try to put the towels on. Be careful not to push the center of your towels out... you'll have to re-roll them.
 |
| back - all seams/pins line up |
 |
| Front |
I happened to have this white ribbon that I found in my box of wedding stuff, so I used it as my base ribbon. You can start with a color


The next thing I did was to make the ribbon for the top. This could have been the last step, but I love my Bowdabra and couldn't wait to use it!!!

I used wired ribbon and made a cute bow for the cake topper
 |
| View from above the cake |
I also used the same ribbon to make cascading curls, which is also what I used to attach the bow to the top.

 |
| Before I curled the ribbon |
Then I attached my two other ribbons. This is where I took pins out and put them back in to make everything lay right. I also folded my top ribbon edges over before I pinned them to give it a finished look.

Last thing I did was to curl the long strands and VOILA... A CAKE!

SO, what do you think?
Don't forget to stop by tomorrow for a red, white and blue Wedding Wednesday!!!
HI Lexi!
ReplyDeleteGuess what? We absolutely love this project and you are being featured in our Feature Friday Bowdabra Blog post. http://bowdabrablog.com/2013/05/17/bowdabra-feature-friday-outdoor-craft-projects/
We love featuring projects made using the Bowdabra or Mini Bowdabra.
We have a Crafty Showcase every Friday midnight until Thursday noon. We'd love to see you stop in and share your crafty creations and of course any which uses the Bowdabra!
Susie @Bowdabra